• Start
  • News
  • Store
  • Grand California
    • Community
    • VW Grand California knowledge base
    • GC Hacks
    • GC Adventure
  • Gadgets
  • On the Road
    • Tips & Advisor
    • Places to be
    • Road trips
  • WomoWasch.de
  • Contact
  • Newsletter
  • English
    • Deutsch (German)
    • Svenska (Swedish)
    • Polski (Polish)
    • Nederlands (Dutch)
    • Français (French)
    • Español (Spanish)
    • Suomi (Finnish)
    • Dansk (Danish)
    • Italiano (Italian)
    • Norsk bokmål (Norwegian Bokmål)
  • Start
  • News
  • Store
  • Grand California
    • Community
    • VW Grand California knowledge base
    • GC Hacks
    • GC Adventure
  • Gadgets
  • On the Road
    • Tips & Advisor
    • Places to be
    • Road trips
  • WomoWasch.de
  • Contact
  • Newsletter
  • English
    • Deutsch (German)
    • Svenska (Swedish)
    • Polski (Polish)
    • Nederlands (Dutch)
    • Français (French)
    • Español (Spanish)
    • Suomi (Finnish)
    • Dansk (Danish)
    • Italiano (Italian)
    • Norsk bokmål (Norwegian Bokmål)
View Categories
  • Home
  • GrandCali.com
  • VW Grand California knowledge base
  • Tips & Tricks
  • Instructions for converting the motion detector in the Grand California into a “normal dimmer switch

Instructions for converting the motion detector in the Grand California into a “normal dimmer switch

1 min read

Version 1.0

Was performed with the following component from Häfele:

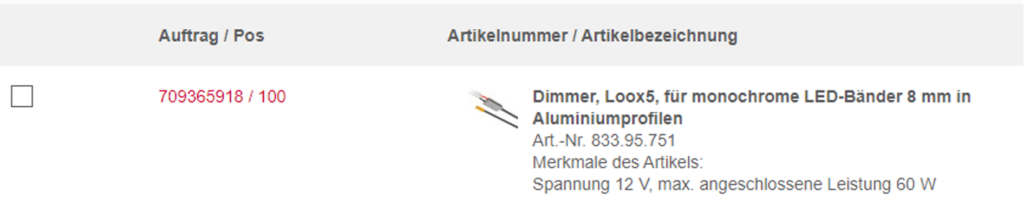
(Unfortunately, you cannot order from the Häfele store as a private individual. You can either look for a partner store, register yourself as a trader or contact [email protected] , I may still have one in stock).

  • Lamp can be levered out with the help of fingernails without using too much force in the bathroom. Note the picture in step 2 to see which connectors are to be disconnected here on the vehicle.
  • Prepare lamp and new switch

  • Unscrew side panels and remove plastic front panel

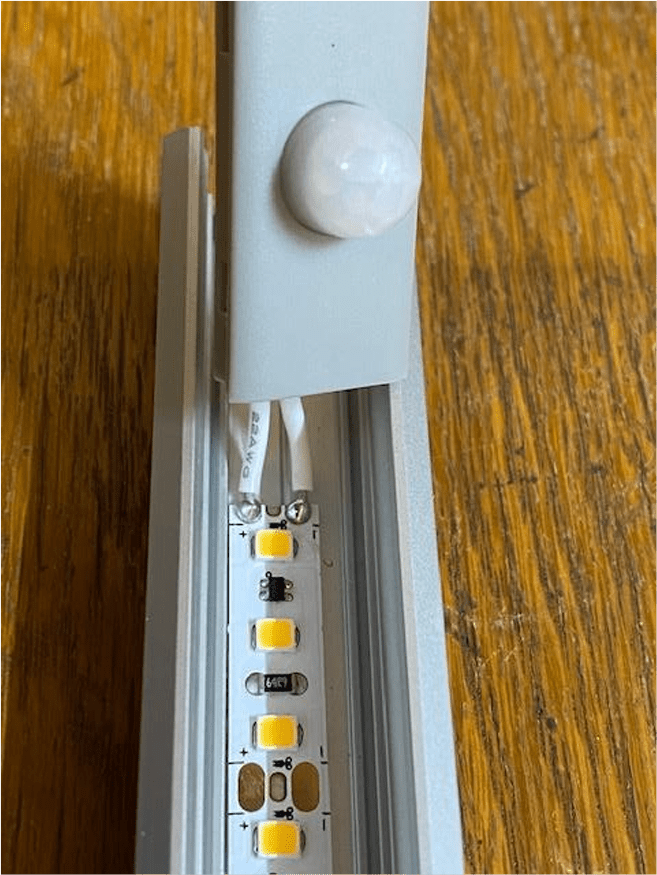
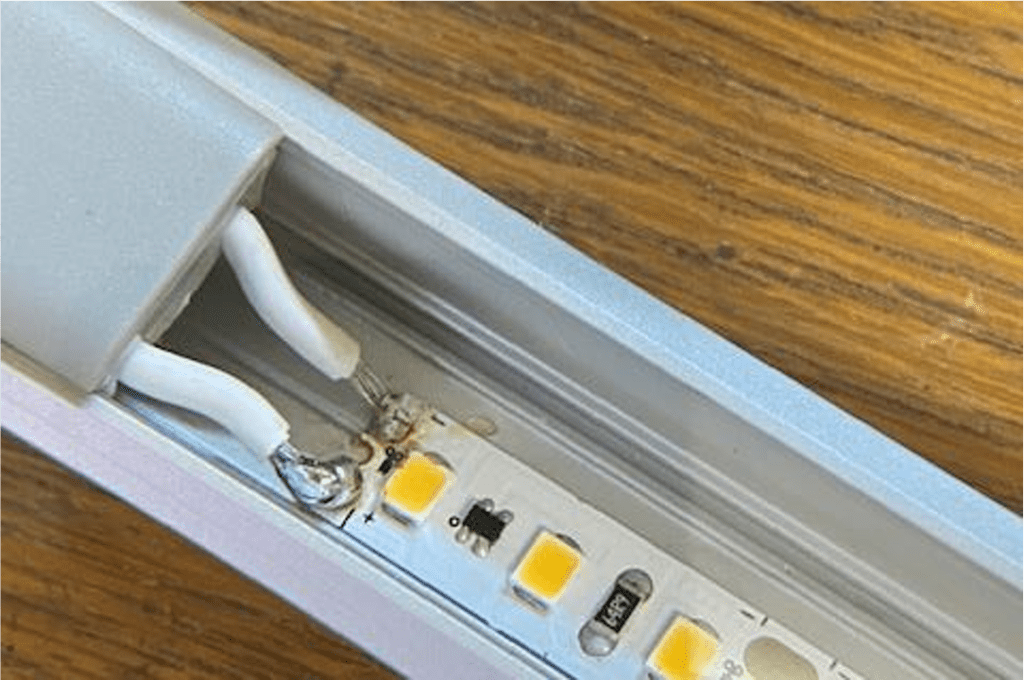
  • Now “unsolder” the two connecting cables of the motion sensor (i.e. heat them with the soldering iron and pull them off).

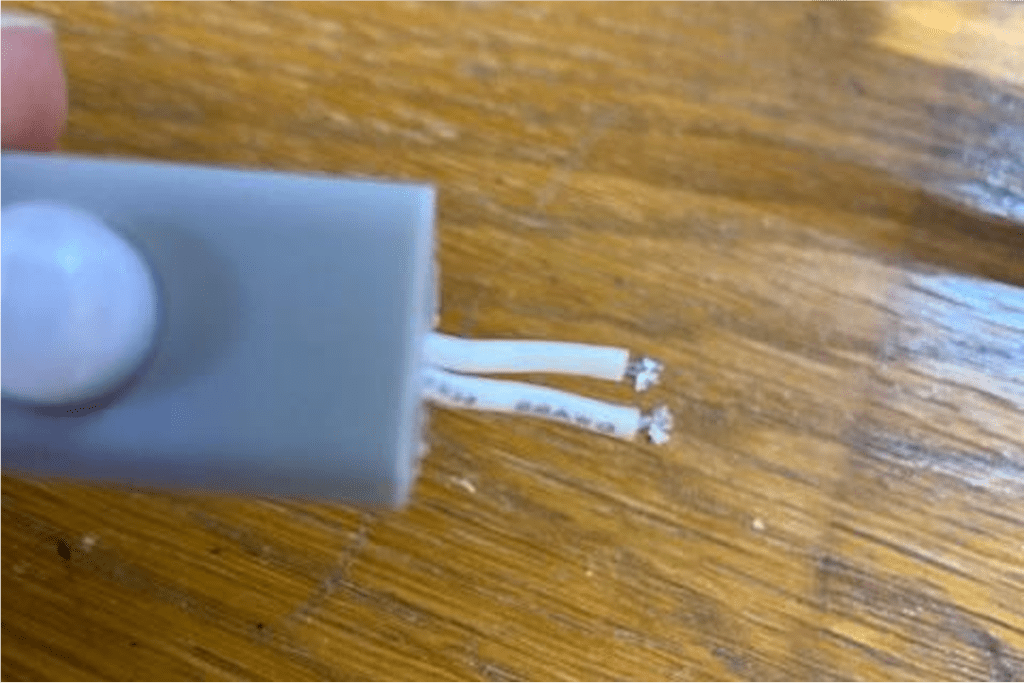
  • Carefully remove the plug from the new switch (a little bit of force is probably needed)

  • Strip the wires by a few millimeters for soldering
  • Solder cable
  • If you have the opportunity, connect a 12V power supply to the cables now after soldering to test your solder joint.
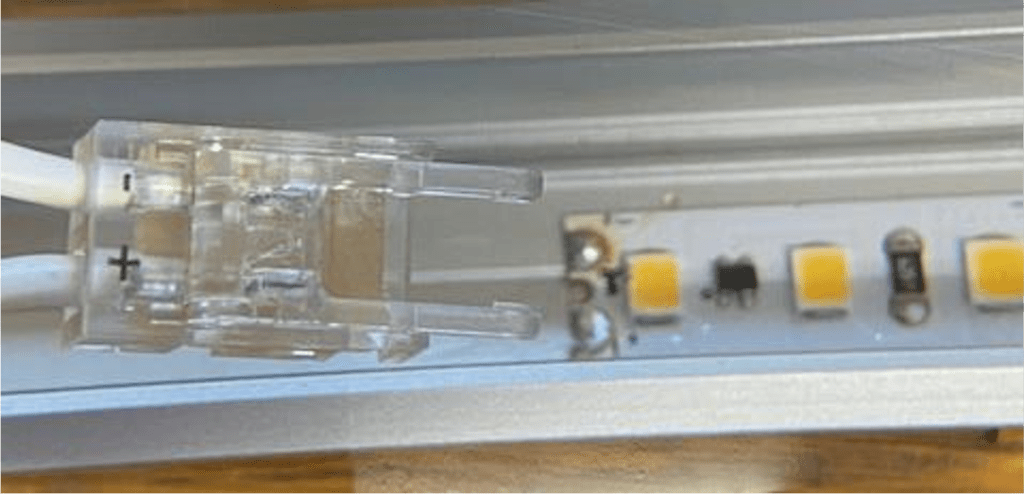
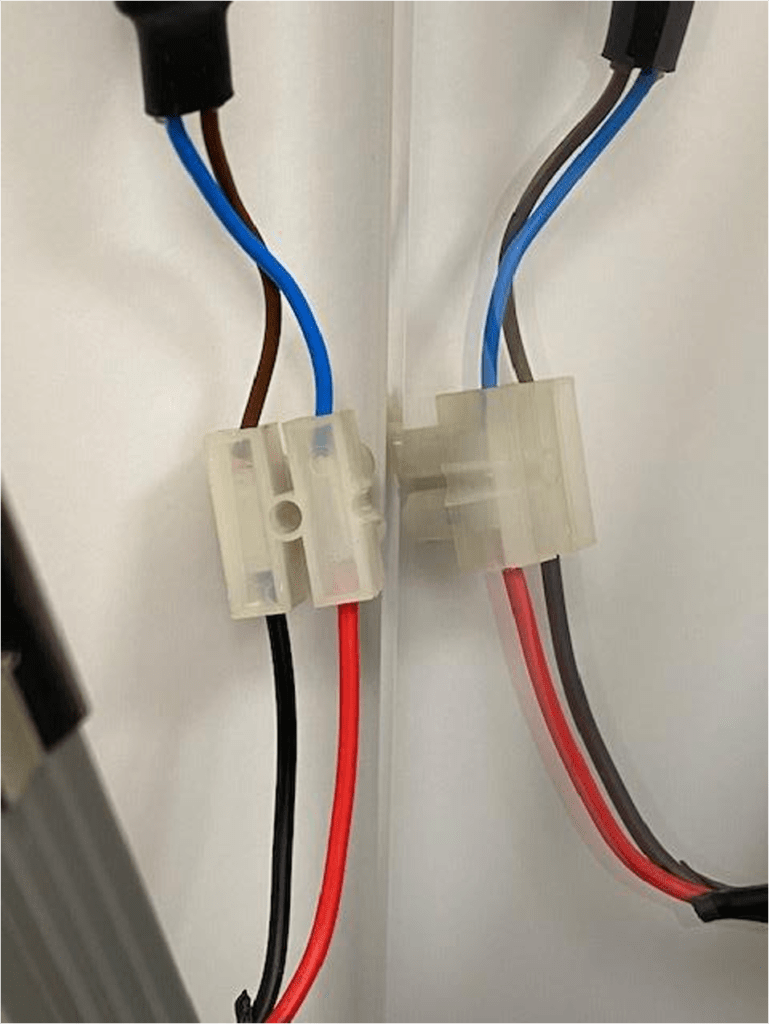
  • Connect the other side of the plug with the old cable (note the colors on the photo)
  • After installation, lower and upper LEDs should burn and also be dimmable.
  • Attention: After the conversion, two special features must be observed.
    • The bathroom light turns on after each press of the main switch.
    • The light will not turn off when you press the off switch when you get in, nor will it turn off when you lock the vehicle.

Wie gefällt dir dieser Beitrag ?

Artikel teilen :

  • Facebook
  • X
  • LinkedIn
  • Pinterest
Updated on 11. September 2025
Trailer hitch parts list

Powered by BetterDocs

Leave a Reply Cancel reply

Your email address will not be published. Required fields are marked *

Instagram

Check out our latest posts on Instagram.

Blogged with love from around the world

Facebook-f Instagram Telegram

Sign up for our Newsletter on!

  • Imprint
  • Privacy policy
  • Contact
  • Imprint
  • Privacy policy
  • Contact

© ZM Media